Adding support for memcached session storage to a container requires changes to both the project configuration and the nominated environment variables.

Lucee 4.5

Container Changes

Add the following items to your project Dockerfile. These are non-volatile changes so add the following lines near the top of your Dockerfile beneath the MAINTAINER:

# Files for memcached extension support
ENV LUCEE_SESSION_STORE "memory"
ENV LUCEE_APPLICATION_SESSIONCLUSTER "false"
ADD https://s3-ap-southeast-2.amazonaws.com/daemon-provisioning-resources/lucee/4.5/memcached/setenv.sh /u/local/tomcat/bin/
ADD https://s3-ap-southeast-2.amazonaws.com/daemon-provisioning-resources/lucee/4.5/memcached/1.0.0.21.rep /opt/lucee/server/lucee-server/context/extensions/22E5066D7B123C5D4898C712C0438CFA/
ADD https://s3-ap-southeast-2.amazonaws.com/daemon-provisioning-resources/lucee/4.5/memcached/MemCached.cfc /opt/lucee/server/lucee-server/context/context/web-context-deployment/admin/cdriver/
ADD https://s3-ap-southeast-2.amazonaws.com/daemon-provisioning-resources/lucee/4.5/memcached/MemCached.cfc /opt/lucee/web/context/
ADD https://s3-ap-southeast-2.amazonaws.com/daemon-provisioning-resources/lucee/4.5/memcached/commons-pool-1-5-6.jar /opt/lucee/server/lucee-server/context/lib/
ADD https://s3-ap-southeast-2.amazonaws.com/daemon-provisioning-resources/lucee/4.5/memcached/lucee-extension-memcached.jar /opt/lucee/server/lucee-server/context/lib/
ADD https://s3-ap-southeast-2.amazonaws.com/daemon-provisioning-resources/lucee/4.5/memcached/memcached-3-0-2.jar /opt/lucee/server/lucee-server/context/lib/

setenv.sh changes

Note the changes overwrite the default Tomcat setenv.sh script. If your container already has a custom setenv.sh file, you can add these lines to your script instead:

# substitute memcached variables into lucee-web xml config
sed --in-place -e "s/{env:LUCEE_SESSION_STORE}/${LUCEE_SESSION_STORE}/" -e "s/{env:LUCEE_SESSION_MEMCACHED_SERVERS}/${LUCEE_SESSION_MEMCACHED_SERVERS}/" /opt/lucee/web/lucee-web.xml.cfm

lucee-server.xml changes

If your Dockerfile doesn’t already add a custom lucee-server.xml file, you will need to do so. This lucee-server.xml example works for 4.5, and contains the configuration changes you need for memcached support. If you’re going to use this template, download it and make the file part of your project build repo.

But if you already have a project level lucee-server.xml, you need to add the following code to the <extensions>...</extensions> block:

<!-- memcached extension; clustered session management -->
<extension 
  author="Michael Offner" 
  category="Cache" 
  codename="memcached" 
  config="{'steps':[],'mixed':{}}" 
  created="{ts '2015-03-06 01:55:09'}" 
  description="Free and open source, high-performance, distributed memory object caching system, generic in nature, but intended for use in speeding up dynamic web applications by alleviating database load." 
  documentation="" 
  forum="" 
  id="16FF9B13-C595-4FA7-B87DED467B7E61A0" 
  image="http://extension.lucee.org/ext/memcached/logo.png" 
  label="Memcached driver (BETA)" 
  mailinglist="" 
  name="memcached" 
  network="" 
  provider="http://extension.lucee.org/ExtensionProvider.cfc" 
  support="" 
  type="server" 
  version="1.0.0.21" 
  video="" />

lucee-web.xml.cfm changes

There are two changes for the lucee-web.xml.cfm file; adding the cache store and updating the scope.

Add the following code to the <cache>...</cache> block:

<connection 
  class="org.lucee.extension.io.cache.memcache.MemCacheRaw" 
  custom="initial_connections=1&amp;socket_timeout=30&amp;alive_check=true&amp;buffer_size=1&amp;max_spare_connections=32&amp;socket_connect_to=3&amp;min_spare_connections=1&amp;failback=true&amp;maint_thread_sleep=5&amp;max_idle_time=600&amp;nagle_alg=true&amp;max_busy_time=30&amp;failover=true&amp;servers={env:LUCEE_SESSION_MEMCACHED_SERVERS}" 
  name="sessions"
  read-only="false" 
  storage="true" />

Note, we’re creating a reserved cache store name called sessions and we’ll look for this specifically when setting up a memcached sessions store.

Update the <scope /> tag to include these session-type, sessionmanagement and session-storage attributes:

<scope 
  client-directory="{lucee-web}/client-scope/" 
  client-directory-max-size="100mb" 
  session-type="cfml" 
  sessionmanagement="true" 
  sessionstorage="{env:LUCEE_SESSION_STORE}"/>

COPY configs in Dockerfile Lucee XML config changes should be stored in the project environment repo and referenced in the Dockerfile like so:

# Lucee server configs
COPY config/lucee/lucee-server.xml /opt/lucee/server/lucee-server/context/lucee-server.xml
COPY config/lucee/lucee-web.xml.cfm /opt/lucee/web/lucee-web.xml.cfm

App Changes

FarCry Platform

If you’re running FarCry, update your farcryConstructor.cfm file. Add a default sessioncluster value:

<cfset THIS.sessioncluster = false />

And inside the check for bUseEnv (or instead of the line above if you don’t check), add this:

<cfset THIS.sessioncluster = system.getEnv("LUCEE_APPLICATION_SESSIONCLUSTER") />

Lesser CFML Apps

For those not running FarCry as a framework, you’ll need to update your session cluster setting in the Application.cfc

<cfset THIS.sessioncluster = system.getEnv("LUCEE_APPLICATION_SESSIONCLUSTER") />

Environment Variables

Your deployment process should set these variables:

LUCEE_SESSION_STOREThe name of the memcached store added earlier, `sessions`. If unset, the container will use `memory` and default to in-memory session storage.
LUCEE_SESSION_MEMCACHED_SERVERSA URL encoded list of memcached hosts. Each line should be a host in the form `host1:port`.
LUCEE_APPLICATION_SESSIONCLUSTER`true` or `false`. If set to true, Lucee will check the session store for updates to the session on every request. If you are running sticky-sessions (and you trust them!) you could set this value to false to reduce network chatter between containers and the session store.

As an example, you might use these lines in a docker-compose.yml file:

    - "LUCEE_SESSION_STORE=sessions"
    - "LUCEE_SESSION_MEMCACHED_SERVERS=mycache:11211"
    - "LUCEE_APPLICATION_SESSIONCLUSTER=true"

if you had a link to a memcached container called sessions like this: yml mycache: image: memcached expose: - "11211"

Test Session Failover

If you can’t readily run a cluster of Lucee containers you can simulate a failover by stopping and starting the Lucee service. You may not be able to do this by simply stopping and starting the container, especialy if you are linking a local memcached store.

You can test a local installation to see if your specific set up is working by:

  • logging into the webtop (ie. establishing a session)
  • shutting down Tomcat/Lucee and show app is dead
  • restart Tomcat/Lucee and show you are still logged in

List your running containers.

$ docker ps
CONTAINER ID        IMAGE                       COMMAND                  CREATED             STATUS              PORTS                         NAMES
d2673526a6dd        yaffaenvdsp_yaffa-dsp       "supervisord -c /etc/"   7 minutes ago       Up 3 minutes        80/tcp, 443/tcp, 8080/tcp     yaffaenvdsp_yaffa-dsp_1
e46c9aca7487        memcached                   "/entrypoint.sh memca"   16 minutes ago      Up 3 minutes        11211/tcp                     yaffaenvdsp_memcached_1
90edea92c5ef        dockerui/dockerui           "/dockerui"              4 months ago        Up 17 minutes       0.0.0.0:81->9000/tcp          dockerui
6d5c1d760a47        texthtml/docker-vhosts      "forego start -r"        4 months ago        Up 17 minutes       80/tcp, 443/tcp               docker_vhosts
46329e209fcf        daemonite/workbench-proxy   "/app/docker-entrypoi"   4 months ago        Up 17 minutes       0.0.0.0:80->80/tcp, 443/tcp   workbench_proxy

Attach a bash shell to the container.

$ docker exec -ti d2673526a6dd bash

Stop/Start tomcat to test session store

root@d2673526a6dd:/usr/local/tomcat# cd bin
root@d2673526a6dd:/usr/local/tomcat/bin# ./shutdown.sh
root@d2673526a6dd:/usr/local/tomcat/bin# ./startup.sh
Tomcat started.

h/t Daemonite @blair for doing most of the heavy lifting ;)

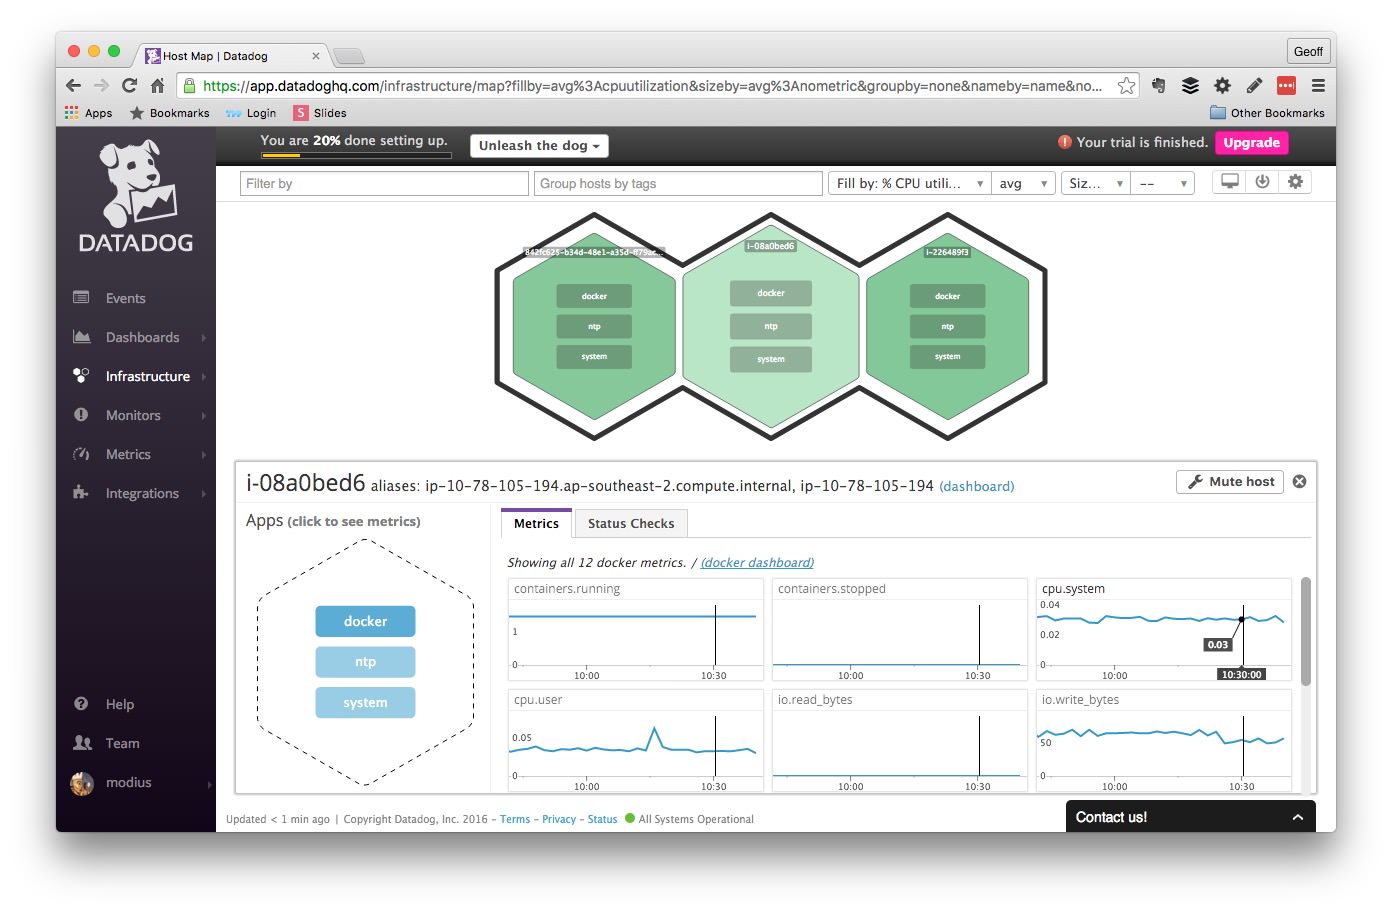
Tutum use to offer a cute set of monitoring graphs on node instances directly within their web dashboard. The acquisition by Docker saw these options vanish with the release of DockerCloud. That left me searching for a convenient (and inexpensive) way of monitoring Docker Cloud nodes; utilisation, memory-consumption, file-system and so on.

Enter Datadog.

Datadog Dashboard

You’ll need to set up a trial account at https://www.datadoghq.com/ to get your API key. The service is free indefinitely for less than 5 nodes.

You can add a utility stack to your Docker Cloud set up that automatically deploys the monitoring agent as a container on every node. Not sure what the original tutum container offers beyond metadata so here is my stackfile for datadog using their agent container directly:

datadog:
  image: 'datadog/docker-dd-agent:latest'
  deployment_strategy: every_node
  environment:
    - API_KEY=YOURAPIKEYHERE
    - HOSTNAME=$DOCKERCLOUD_NODE_HOSTNAME
  privileged: true
  restart: on-failure
  volumes:
    - '/var/run/docker.sock:/var/run/docker.sock'
    - '/proc:/host/proc:ro'
    - '/sys/fs/cgroup:/host/sys/fs/cgroup:ro'

Note the need to use $DOCKERCLOUD_NODE_HOSTNAME as the hostname. Unfortunately this now gives you an ‘orrible UUID as a node name.

TLDR; break down the project template and make it your own.

Follows on from Docker for Lucee Developers: Part 1

Continuous delivery is hard; development pipelines are initimate affairs, tied very closely to the peculiarities of the application. One of the most important aspects of Dockerising development at Daemon was standardising how development pipelines work. We work with a lot of different bespoke applications, and having a standard structure for version control, development and deployment has become a major bonus of moving to Docker.

Our project template or “environment” has a few key requirements:

  • format should work for any language (well at least the ones we work with). For example, we’re working with lucee, python and php so far.
  • each Docker image has its own project; we name them CLIENT-env-PROJECTNAME. For example, dae-env-prime for the Daemon public web site (codenamed Prime).
  • the environment allows for the composition of multiple containers, but is designed for working on a specific application. For example, we run both mysql and memcached along on Daemon Prime.
  • it is essential that the Docker image can be built locally, and also built remotely as part of a deployment process. For example, Daemon Prime is automatically built on each commit via http://quay.io and then deployed to a cluster of nodes at http://tutum.co.

The environment is designed to work with the Daemon Docker Workbench, but could easily be adapted for use with Docker Machine/Docker Compose.

Lucee Development Structure

lucee-docker-workbench/
├── Dockerfile
├── Vagrantfile
├── code (-> git submodule)
├── config
│   ├── lucee
│   │   └── lucee-web.xml.cfm
│   └── nginx
│       ├── conf.d
│       │   └── default.conf
│       └── nginx.conf
└── logs
    ├── lucee
    ├── nginx
    ├── supervisor
    └── tomcat

Dockerfile

For Lucee development we use the official lucee/lucee4-nginx Docker image. It’s a “batteries not included” style of image and we need to add our application.

FROM lucee/lucee4-nginx:latest

# NGINX configs
COPY config/nginx/ /etc/nginx/

# Lucee server PRODUCTION configs
COPY config/lucee/lucee-web.xml.cfm /opt/lucee/web/lucee-web.xml.cfm

# Deploy codebase to container
COPY code /var/www

This simple Dockerfile will work for most Lucee apps unchanged. It copies a specific config for the NGINX, a config for Lucee and your application code under the NGINX webroot. I’ll go into constructing a more specialised Lucee Dockerfile in a later post.

Note, anything you want built into the Docker image needs to sit beneath the Dockerfile in the directory tree. This is one of the constraints of the Docker build process, and influences the directory structure of the project.

Vagrantfile

The Vagrantfile manages the the Docker host, specifies how the Docker image should be built and the configuration of the container when its run.

Note, the Vagrantfile works best in the Daemon Docker Workbench; its only a Vagrantfile in the parent directory so there’s no reason not to use it.

ruby ################################################## # Launch dev containers # - vagrant up lucee ################################################## config.vm.define "lucee", autostart: true do |lucee| lucee.vm.provider "docker" do |docker| docker.name = PROJECT_ENV docker.build_dir = "." docker.env = { VIRTUAL_HOST: PROJECT_ENV + ".*, lucee.*" } # local development code, lucee config & logs docker.volumes = [ "/vagrant/" + PROJECT_ENV + "/code:/var/www", "/vagrant/" + PROJECT_ENV + "/config/lucee/lucee-web.xml.cfm:/opt/lucee/web/lucee-web.xml.cfm", "/vagrant/" + PROJECT_ENV + "/logs/lucee:/opt/lucee/web/logs", "/vagrant/" + PROJECT_ENV + "/logs/nginx:/var/log/nginx", "/vagrant/" + PROJECT_ENV + "/logs/supervisor:/var/log/supervisor", "/vagrant/" + PROJECT_ENV + "/logs/tomcat:/usr/local/tomcat/logs" ] docker.vagrant_machine = WORKBENCH_HOST docker.vagrant_vagrantfile = WORKBENCH_VAGRANTFILE docker.force_host_vm = true end puts '############################################################' puts '# ' + PROJECT_ENV.upcase puts '# - hosted at: http://' + PROJECT_ENV + '.dev' puts '############################################################' end

A few notes about the Docker provider:

  • the container is called PROJECT_ENV; that is, the directory name at the root of the project, for example, lucee-docker-workbench.
  • VIRTUAL_HOST is picked up by the reverse proxy built into the Docker host VM; this is awesome. You can add other environment variables here as needed.
  • the Docker volumes map the code base into the web root of NGINX, link the Lucee XML config, and pick up various logs for debugging

./code

./code is a directory stub that contains all of your application’s code. By default its copied directly into the web root of the on board NGINX server.

In the template this is populated with a git submodule. It’s not uncommon for us to bring in a range of libraries and the app code base with a list of submodules. Using submodules gives granular control over the version of each library being built into the image.

Note, it’s a good idea to get into the habit of using SSH keys for your Git Repos. When you get to the point of automating Docker image builds from private repos it will be a requirement.

./config

./config is a directory stub for project configuration files. Use a sub-directory for each service.

./config/lucee contains the Lucee xml config for the web context; it could contain other configuration files as needed. The official Lucee Docker image is designed for a single web context per container. By default there is a Docker volume in the development setup that maps the lucee-web.xml.cfm in your code base to the one in the running container; changes you make in the Lucee admin will be reflected in your project’s config file and can be committed to git as needed.

./config/nginx has a base NGINX server config (nginx.conf) and a web app specific config (default.conf). For a standard Lucee app these could be left unchanged, but I include it because everyone loves to tinker with their web server set up (or is that just me?).

./logs

Various log files are mapped out to this location. The project template has .gitignore files to keep the directory structure but block commits of the logs.

Hack Your Own Lucee Project

Download a ZIP of the lucee-docker-workbench; it’s easier than forking or cloning the original repo. Create a new directory under your Workbench and unzip the contents. See if you can’t get your own Lucee project running.

Hit me up in the comments below with questions.

Next I’ll delve into the structure of the official Lucee Dockerfiles, the thinking behind their construction, and tips for how and why you might build your own.

TLDR; install everything. Expect to download about a GIG. Coffee may be needed. Test a working dev environment.

This tutorial assumes little or no Docker experience, an agnostic development environment, and knowledge of Lucee development.

Docker can be tough to get into; there are a lot of small moving parts that make up a basic development ecosystem, and a whole new vocabulary to pick up. Nothing is overly complex on its own, however, there are many different ways to approach Docker development and this makes Googling solutions difficult.

Let’s get a basic development environment up and running, and hook that up to a basic deployment pipeline. Once you get a handle on things you can decide whether or not you like my approach and start forging a more personal Docker toolkit.

Docker Basics

Docker needs to run in a supported linux environment; both OSX and Windows require a lightweight Virtual Machine as neither operating system supports Docker natively. This tutorial will also work with Linux environments, but will ignore the local Docker machine if you have one.

The Docker machine is a quasi-virtualisation environment that runs your application in its own isolated process. Ok. So its a fair bit cleverer than that, but you can read all about the mechanics of Docker elsewhere.

Docker image; we build an image to run as a container. An image is like a sealed appliance; everything wrapped up in a read-only snapshot, and stored in a Docker repository. When you are happy with your app you can commit it to the repository for use elsewhere.

Docker registry; the registry contains a bunch of Docker repositories; a bit like git repositories. The default registry is Dockerhub by Docker themselves, but there are other commercial registries or you can run your own. We commit polished images to the repo for use elsewhere.

Docker container; a running instance of a specific Docker image. Once a container is running you can modify files in real time, but when the container stops those changes are lost. We can run a local image or one pulled from a registry.

Daemon Workbench

Docker has recently released the Docker Toolbox to help get development environments up. We still prefer to run our own environment and this tutorial is based on that approach. As Docker’s native tools improve, we will adjust to use more of their generic offering; docker machine, docker compose, etc.

We use Vagrant to build and provision a VM running Docker. And we use the Docker provider in Vagrant to build and run containers. Docker native tools can accomplish the same thing, but so far we’ve found this approach simpler to get people new to Docker up and running. You need to understand less to get going, plus we automatically provision some nice additional features like hostnames and stats.

Quick install guide for our Docker “workbench” for development; full details about the Daemon Workbench are available on Github.

  1. Install Git client
  2. Install Virtual Box. Get the latest and install.
  3. Install Vagrant. Get the latest and install.
  4. Install Vagrant Hostmanager plugin.
    $ vagrant plugin install vagrant-hostmanager
  5. create a local projects directory (can be called anything); for example, $ mkdir ~/Workbench
  6. copy Workbench VM Vagrantfile into ~/Workbench directory

Check the workbench and make sure everything is running properly. This may take a little while depending on your Internet connection.

cd /Workbench
vagrant up
open http://workbench.dev:81

Troubleshooting; if you get an error starting up the VM try vagrant provision. Sometimes Vagrant doesn’t register the Docker provider quickly enough and assumes Docker is not installed; typically on slower machines bringing up the VM for the first time. The vagrant provision command will re-set the Docker environment and can be used at any time.

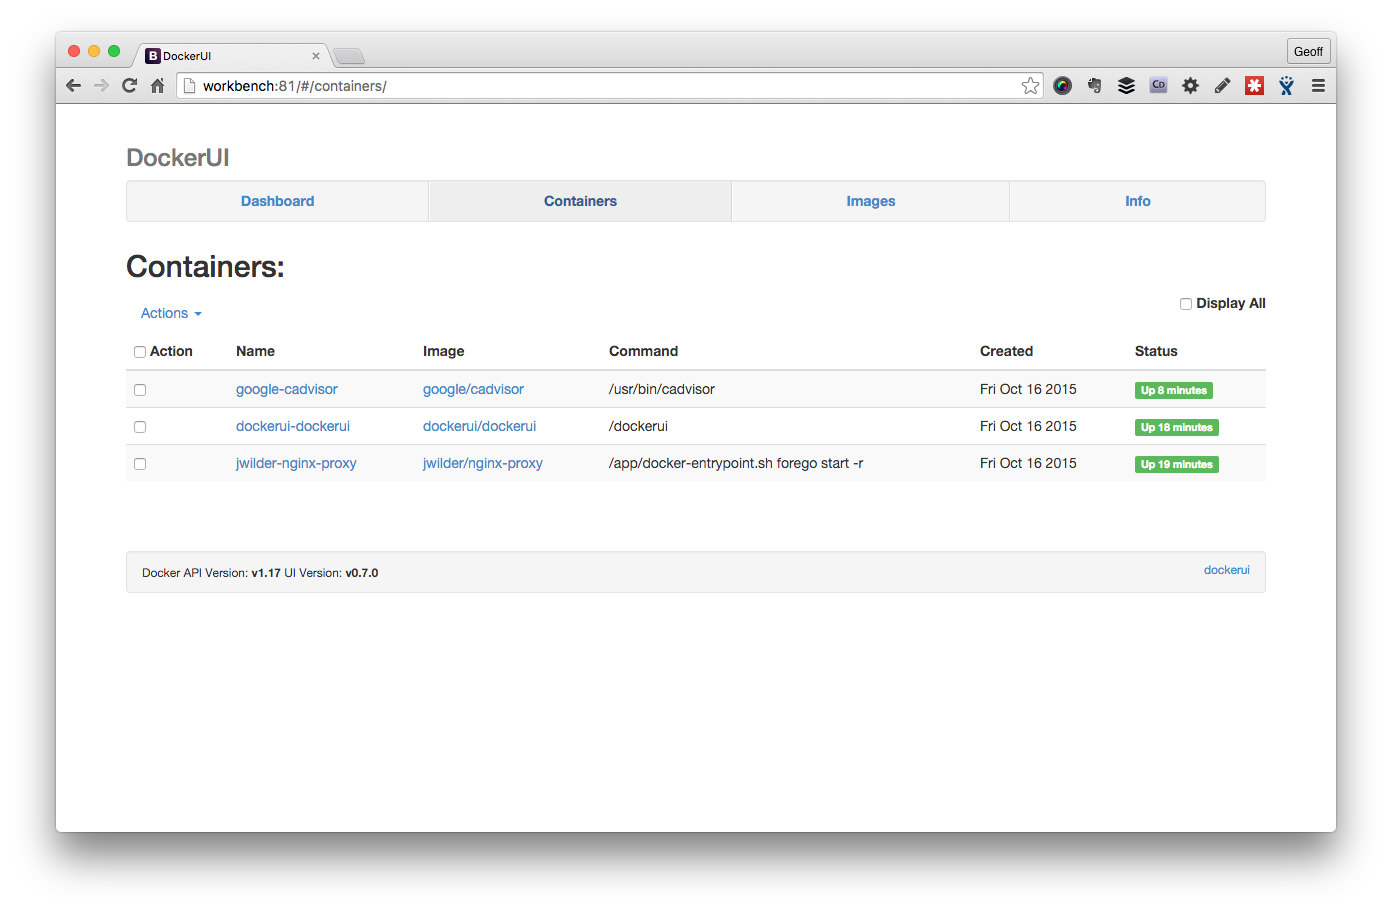
DockerUI

DockerUI is installed by default, and registered to port 81. This utility provides a convenient web GUI to your Docker environment.

Sample Lucee Docker Project

lucee-docker-workbench is a sample project that can be used as a template for any Lucee based docker project (or most other languages for that matter). Lets get it operational first before we look at breaking down the parts in the second part of the tutorial.

Clone the Lucee sample project, and its underlying submodule:

cd /Workbench
git clone --recursive https://github.com/modius/lucee-docker-workbench
cd lucee-docker-workbench
vagrant up lucee

vagrant up lucee will build a local Docker image of the Lucee project and run a Docker container within the parent Workbench VM.

The Workbench has a reverse proxy in place to automatically set up virtual hosts for your Docker projects via environment variables. You can see the registered virtual hosts at http://workbench.dev

Lucee Hello World

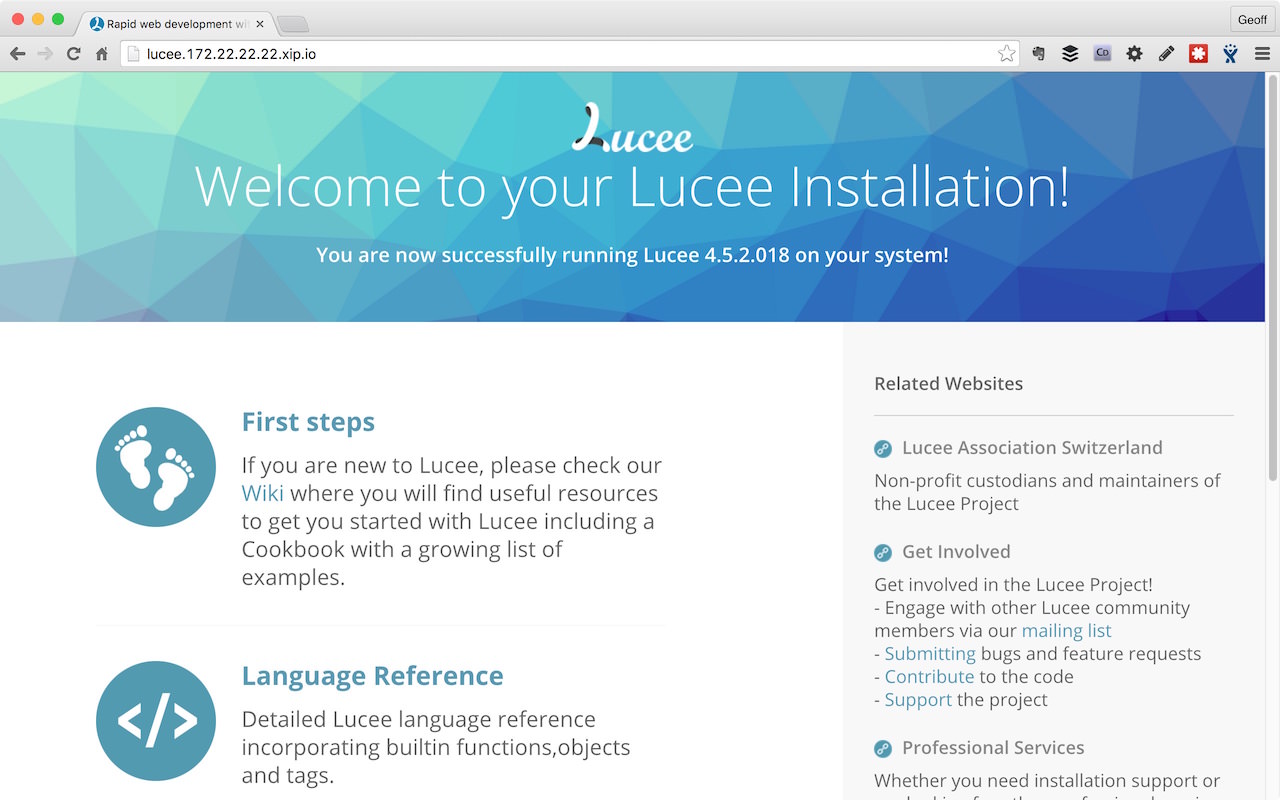
The lucee project is available at http://lucee.dev by default. You will need a HOSTS entry to point lucee.dev to 172.22.22.22 (the IP of the Docker host). If you are lucky (and lazy ;) you may be able to use: http://lucee.172.22.22.22.xip.io/

Test the admin at: http://lucee.dev/lucee/admin/server.cfm

The project is configured with a Docker volume that maps that code base into the container, so lets test that by making some simple changes to the ./code/index.cfm or adding a new template; whatever works for you. Check that you can see those changes reflected in the web browser when you reload.

With any luck you should have a fully functional test project. Next step is to copy the template, examine the structure and get a real project up and running.

Follows on to Docker for Lucee Developers: Part 2

“Vagrant is not for managing machines, Vagrant is for managing development environments”, Mitchell Hashimoto

Mitchell’s quote comes direct from the comments of an interesting “Docker vs Vagrant” Stackoverflow question. Worth a read if only because a founder from both the Docker (Solomon Hykes) and Vagrant (Mitchell Hashimoto) projects provided answers.

Vagrant 1.6 was only recently released (MAY 6 2014) with its official support for Docker in tow. A lot of older Docker tutorials incorrectly position Vagrant as a competitor to Docker.

Vagrant is for managing development environments and traditionally does this by provisioning virtual machines. Docker.io is another form of virtualisation — stands to reason that Vagrant might be useful.

Vagrant can make Docker easier by:

  • provisioning a lean virtual machine for the docker daemon; essential for windows and osx environments
  • handling file syncing into containers
  • managing network port forwarding
  • making vagrant ssh handy
  • tailing container logs and more

Admittedly, many features are of limited use if you are already running a flavour of linux that can can handle Docker natively. But if you must go through a virtual machine, its a constant pain to be juggling commands/ports/syncs from the host to the docker virtual machine and then on to the containers.

Vagrant is like rum’n’raisin with lemon sorbet; it complements Docker development.

Plus there’s the convenience of having the same vagrant up workflow available and standard across developers using different operating environments. Not to mention everyday virtual machines are at your finger tips when Docker itself is not an option for your project.

Enjoy!